Exploring Swift
I dabbled with Apple’s new programming language Swift a little bit and it is actually fun to write Swift code!
I walked in with a bit of skepticism. I am a bread-and-butter Python programmer and I already have a high bar on what I expect from a programming language in terms of fun and simplicity. Swift did not disappoint.
Here’s how my dabbling played out:
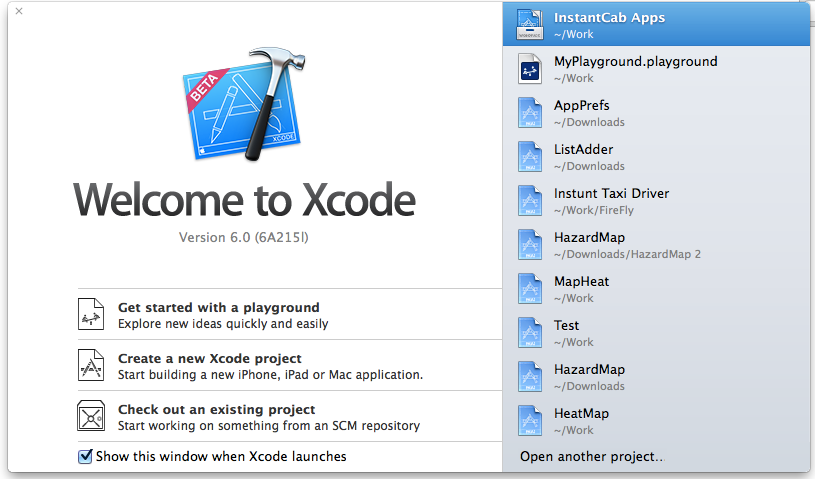
First step is to login to the Apple developer account and download XCode 6 beta. Thankfully, the Xcode 6 beta does not come in the way of the XCode 5 setup and so feel free to give it a spin without worrying about breaking something.
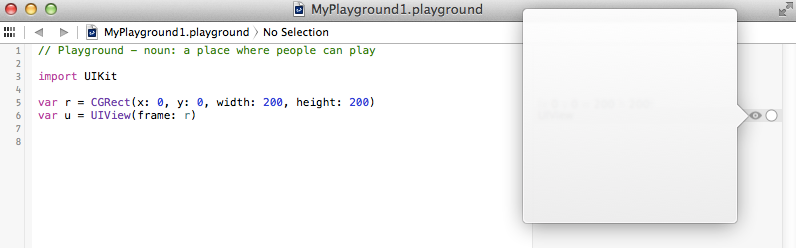
Next step, try out the Swift REPL. I love trying out one liners and snippets and I find that to be the best way to learn new things when programming. I waddled through the menu options trying to figure out a way to invoke the REPL from XCode. I was about to give up and try to get to it from the terminal but I discovered that you have to create a new .playground file and making edits in that file is how you see the Swift REPL in action. Note that, this option is prominently available from the splash screen but I totally missed it! Also, note that there is a different between starting a new playground from the splash screen (which imports Cocoa) and starting it from the new file menu and picking it under iOS source (which imports UIKit - this is what I did).
Note: XCode did keep crashing on me mid-sentence and I had to restart it a lot but hey, it’s beta and not just any beta but an XCode beta :)
My interest in Swift stemmed from the fact that they were bold enough to take a stab at bring Bret Victor style visualization. In case you don’t know what it is, I strongly urge you to watch this excellent talk by him about the evolution/future of programming.
To try out how this dynamic visualization works, create a simple UIView. Note how auto-complete lists all possible ways to initialize a UIView.

I picked feeding a CGRect to the UIView to initialize with position and bounds.
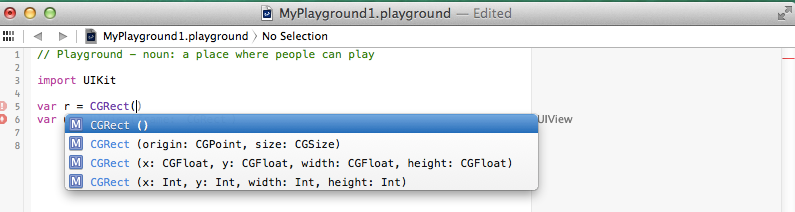
In object initialization and method parameters, you need to specify the names of the parameters. Interestingly, this is not needed for regular functions. Weird, but let’s roll with it.
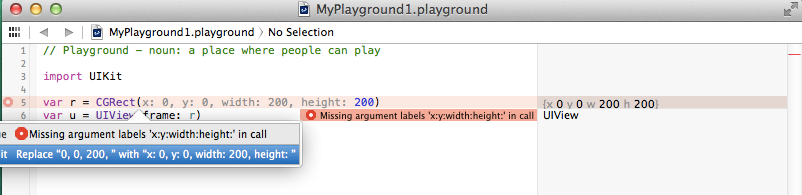
Notice how the pane to the right of the editor lists basic information about the objects being evaluated by the REPL. If you hover over the UIView on that pane, you’ll notice two options - Quick Look which lets you quickly preview the visualized object and History which lets you “pin” the visualization.
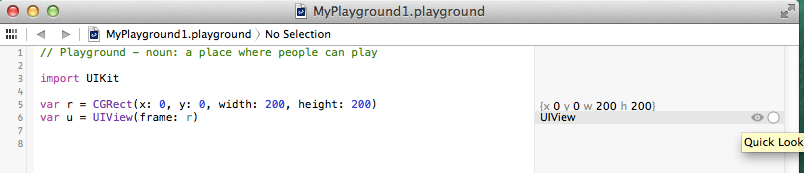
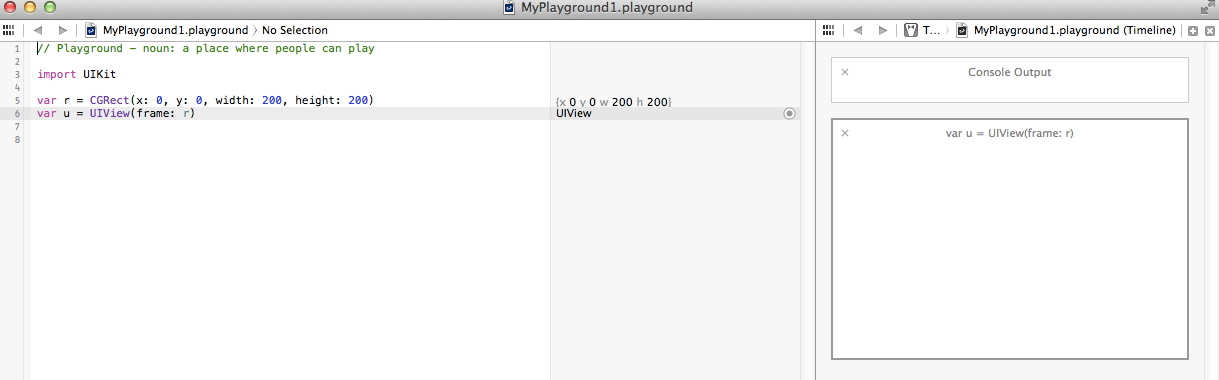
As you keep editing code, the REPL continuously evaluates it and updates the results on the right side of the editor.
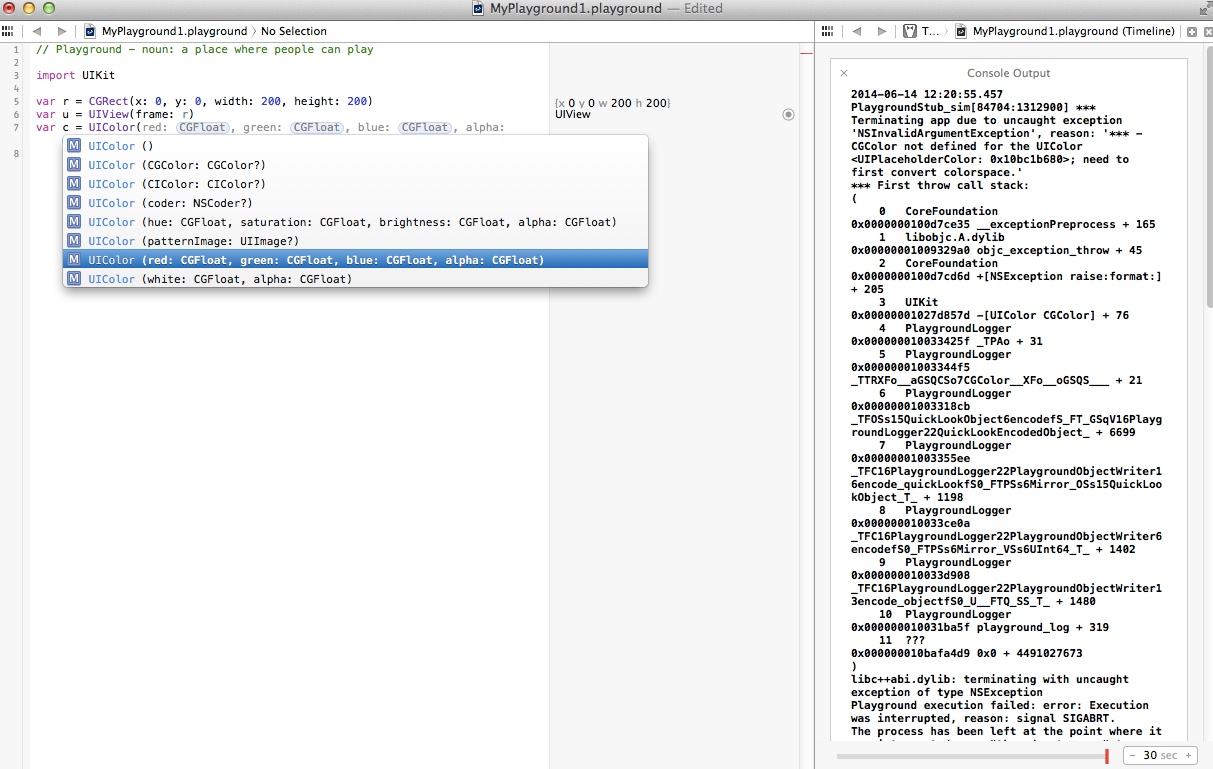
This has some interesting side-effects. When I was switching a count-up loop to a count-down loop, the REPL started executing the loop body continuously as mid-edit, the loop conditions made it an infinite loop! I wonder if they will keep this behavior post-beta. If they do, the order in which you make edits in the REPL would matter, which would be annoying.
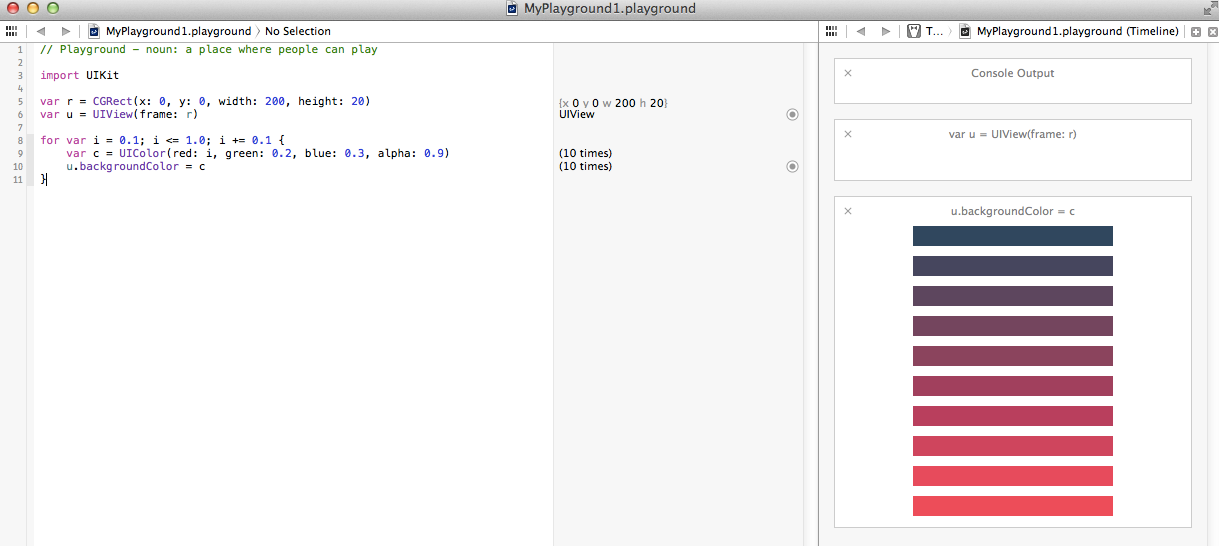
Let’s set a background color to the UIView and pin that evaluation to our history.
1
2
3
4
5
6
import UIKit

var r = CGRect(x: 0, y: 0, width: 200, height: 200)
var u = UIView(frame: r)
var c = UIColor(red: 0.1, green: 0.2, blue: 0.3, alpha: 0.1)
u.backgroundColor = c

Now, comes the coolest part of this visualization. When you wrap this section of setting background color in a loop and you vary some color component, you can see all those shades evaluated and visualized immediately! This will be super helpful when you have conversations with your designer about tweaking something about the UI. You can now visualize all possibilities at the same time.
1
2
3
4
5
6
7
8
9
import UIKit

var r = CGRect(x: 0, y: 0, width: 100, height: 20)
var u = UIView(frame: r)

for var i = 0.1; i <= 1.0; i += 0.1 {
    var c = UIColor(red: i, green: 0.2, blue: 0.3, alpha: 0.9)
    u.backgroundColor = c
}
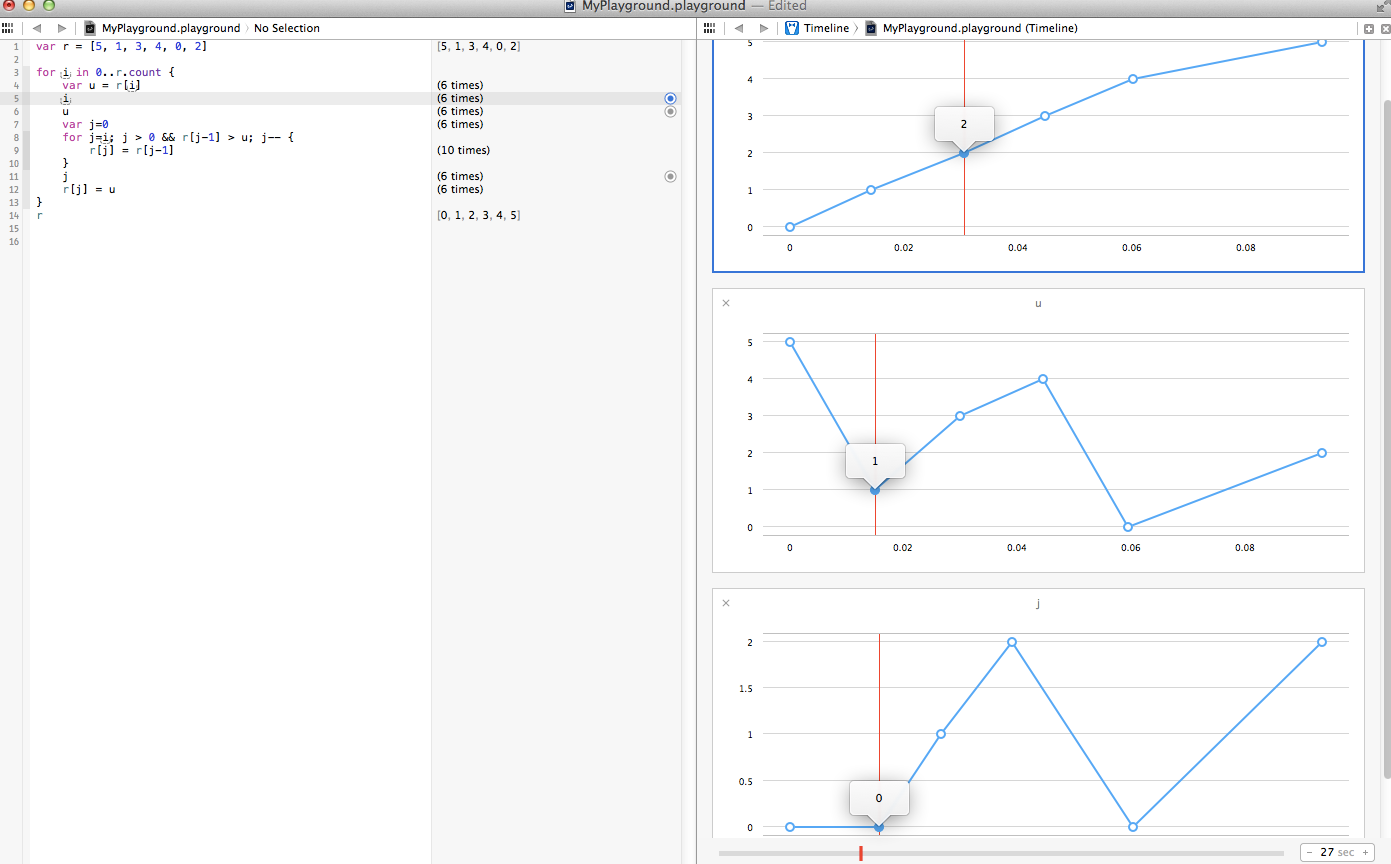
Here’s a simple insertion sort in Swift. From the visualization you can see that at the start of iteration 2, (the counter i), the position of value 1 (the variable u) was moved to 0 in the previous iteration (since 5 at position 0 was shifted up). You can follow each value being shifted to a particular position at each iteration. I am yet to wrap my brain around using this visualization effectively but I can see that it is powerful.
1
2
3
4
5
6
7
8
9
10
11
12
13
14
var r = [5, 1, 3, 4, 0, 2]

for i in 0..r.count {
    var u = r[i]
    i
    u
    var j=0
    for j=i; j > 0 && r[j-1] > u; j-- {
        r[j] = r[j-1]
    }
    j
    r[j] = u
}
r
Word of advice, there is already a popular Swift out there! So, before you Google for something like “swift tour” (assuming you’re looking for a tour of the swift programming language), make sure you’re more specific :) I am not a fan of not so Google-able technology names - Go, Swift, Celery, Cucumber etc., ZeroMQ anyone?

Feedback? Something looks odd? Let me know!